


There’s nothing quite like the smell of freshly baked bread wafting through your kitchen. While it might seem intimidating at first, making your own bread at home is both simple and rewarding. Homemade bread has a unique flavor and texture that store-bought loaves just can’t replicate, and it allows you to experiment with ingredients and flavors. Whether you’re making bread for the first time or you’re looking to improve your technique, here’s a beginner’s guide to getting started with homemade bread.
1. Gather the Right Ingredients
The basic ingredients for most homemade bread recipes are simple: flour, yeast, water, salt, and sometimes a little sugar or fat. Here’s a breakdown of what you’ll need:
- Flour: All-purpose flour works well for beginners, but you can experiment with bread flour for a denser, chewier texture. Whole wheat flour can be used for a heartier, more rustic loaf.
- Yeast: Active dry yeast is most common for beginners, as it’s easy to use and available in most grocery stores. Instant yeast is another option, and it can be mixed directly with the flour without needing to be dissolved in water.
- Water: Use lukewarm water (about 100°F or 37°C) to activate the yeast. Water that’s too hot can kill the yeast, while water that’s too cold will not activate it properly.
- Salt: Salt enhances the flavor of the bread and helps control the yeast’s growth.
- Sugar or fat (optional): Sugar can help feed the yeast and promote browning, while fat like olive oil or butter can add richness and softness to the bread.
2. Mixing and Kneading the Dough
Once you’ve gathered your ingredients, it’s time to mix them together. Start by combining the flour, yeast, and salt in a large bowl. If you’re using sugar, add it along with the yeast to help activate it. Gradually add the water while stirring to form a rough dough.
Once the dough begins to come together, turn it out onto a floured surface and knead it for about 8-10 minutes. Kneading is essential because it develops the gluten in the dough, which gives the bread structure and elasticity. If the dough is too sticky, sprinkle in a little more flour; if it’s too dry, add a small amount of water. The goal is to have a dough that’s smooth, elastic, and slightly tacky but not overly sticky.
3. Let the Dough Rise
After kneading, form the dough into a ball and place it in a lightly greased bowl. Cover the bowl with a clean towel or plastic wrap, and let it rise in a warm place for about 1-2 hours, or until it has doubled in size. This process is called proofing, and it allows the yeast to ferment, creating air pockets in the dough that will make the bread light and fluffy.
If you don’t have a warm spot, you can create a warm environment by placing the bowl in your oven with the light on, or by using a proofing box if you have one.
4. Shape and Second Rise
Once the dough has doubled in size, punch it down gently to release any air bubbles. Turn it out onto a lightly floured surface and shape it into a loaf or a round boule, depending on your preference. You can also divide the dough into smaller portions to make rolls.
Place the shaped dough into a greased loaf pan or onto a baking sheet lined with parchment paper. Cover it again and let it rise for another 30-60 minutes, or until it has puffed up and filled the pan.
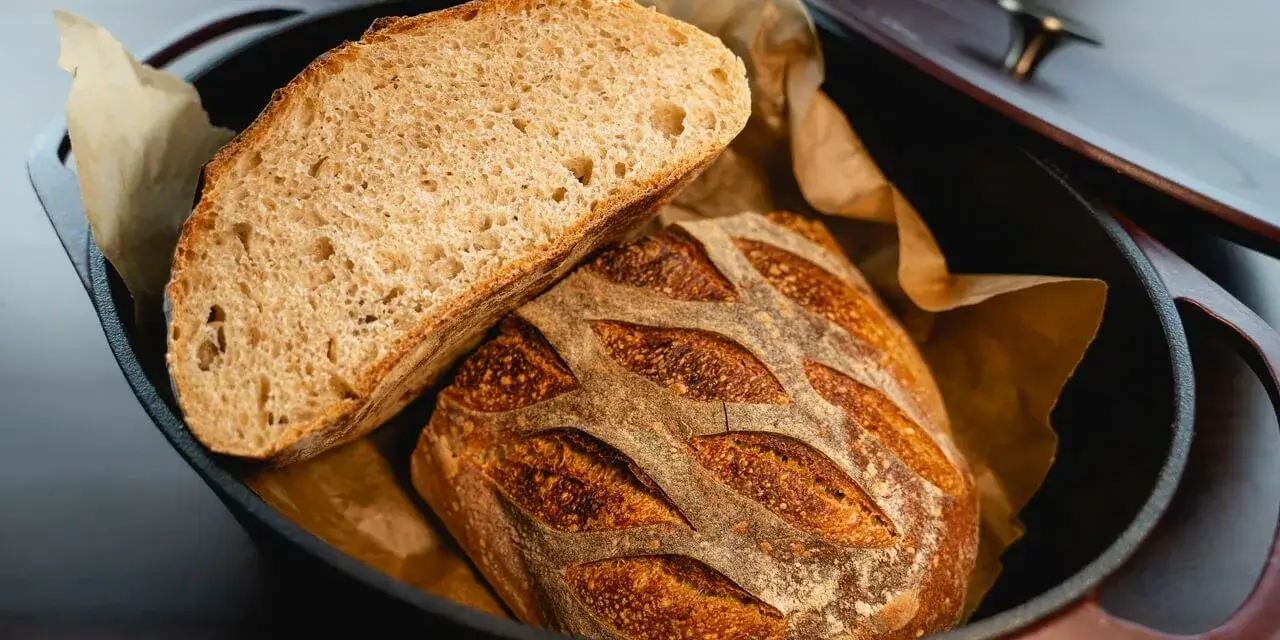
5. Baking the Bread
Preheat your oven to 375°F (190°C) about 15 minutes before the dough finishes its second rise. When the dough is ready, place it in the oven and bake for about 25-30 minutes, or until the top is golden brown and the loaf sounds hollow when tapped on the bottom.
If you prefer a crustier loaf, you can create steam in the oven by placing a small pan of water on the lower rack or spraying the dough with water just before baking. This helps the bread develop a crisp, crunchy crust.
6. Cool and Enjoy
Once the bread is done, remove it from the oven and let it cool on a wire rack for at least 20 minutes before slicing. This cooling period is important because it allows the structure of the bread to set, making it easier to cut without squishing the loaf.
Homemade bread is best enjoyed fresh, but it can be stored at room temperature for a few days. For longer storage, you can freeze it and thaw slices as needed.